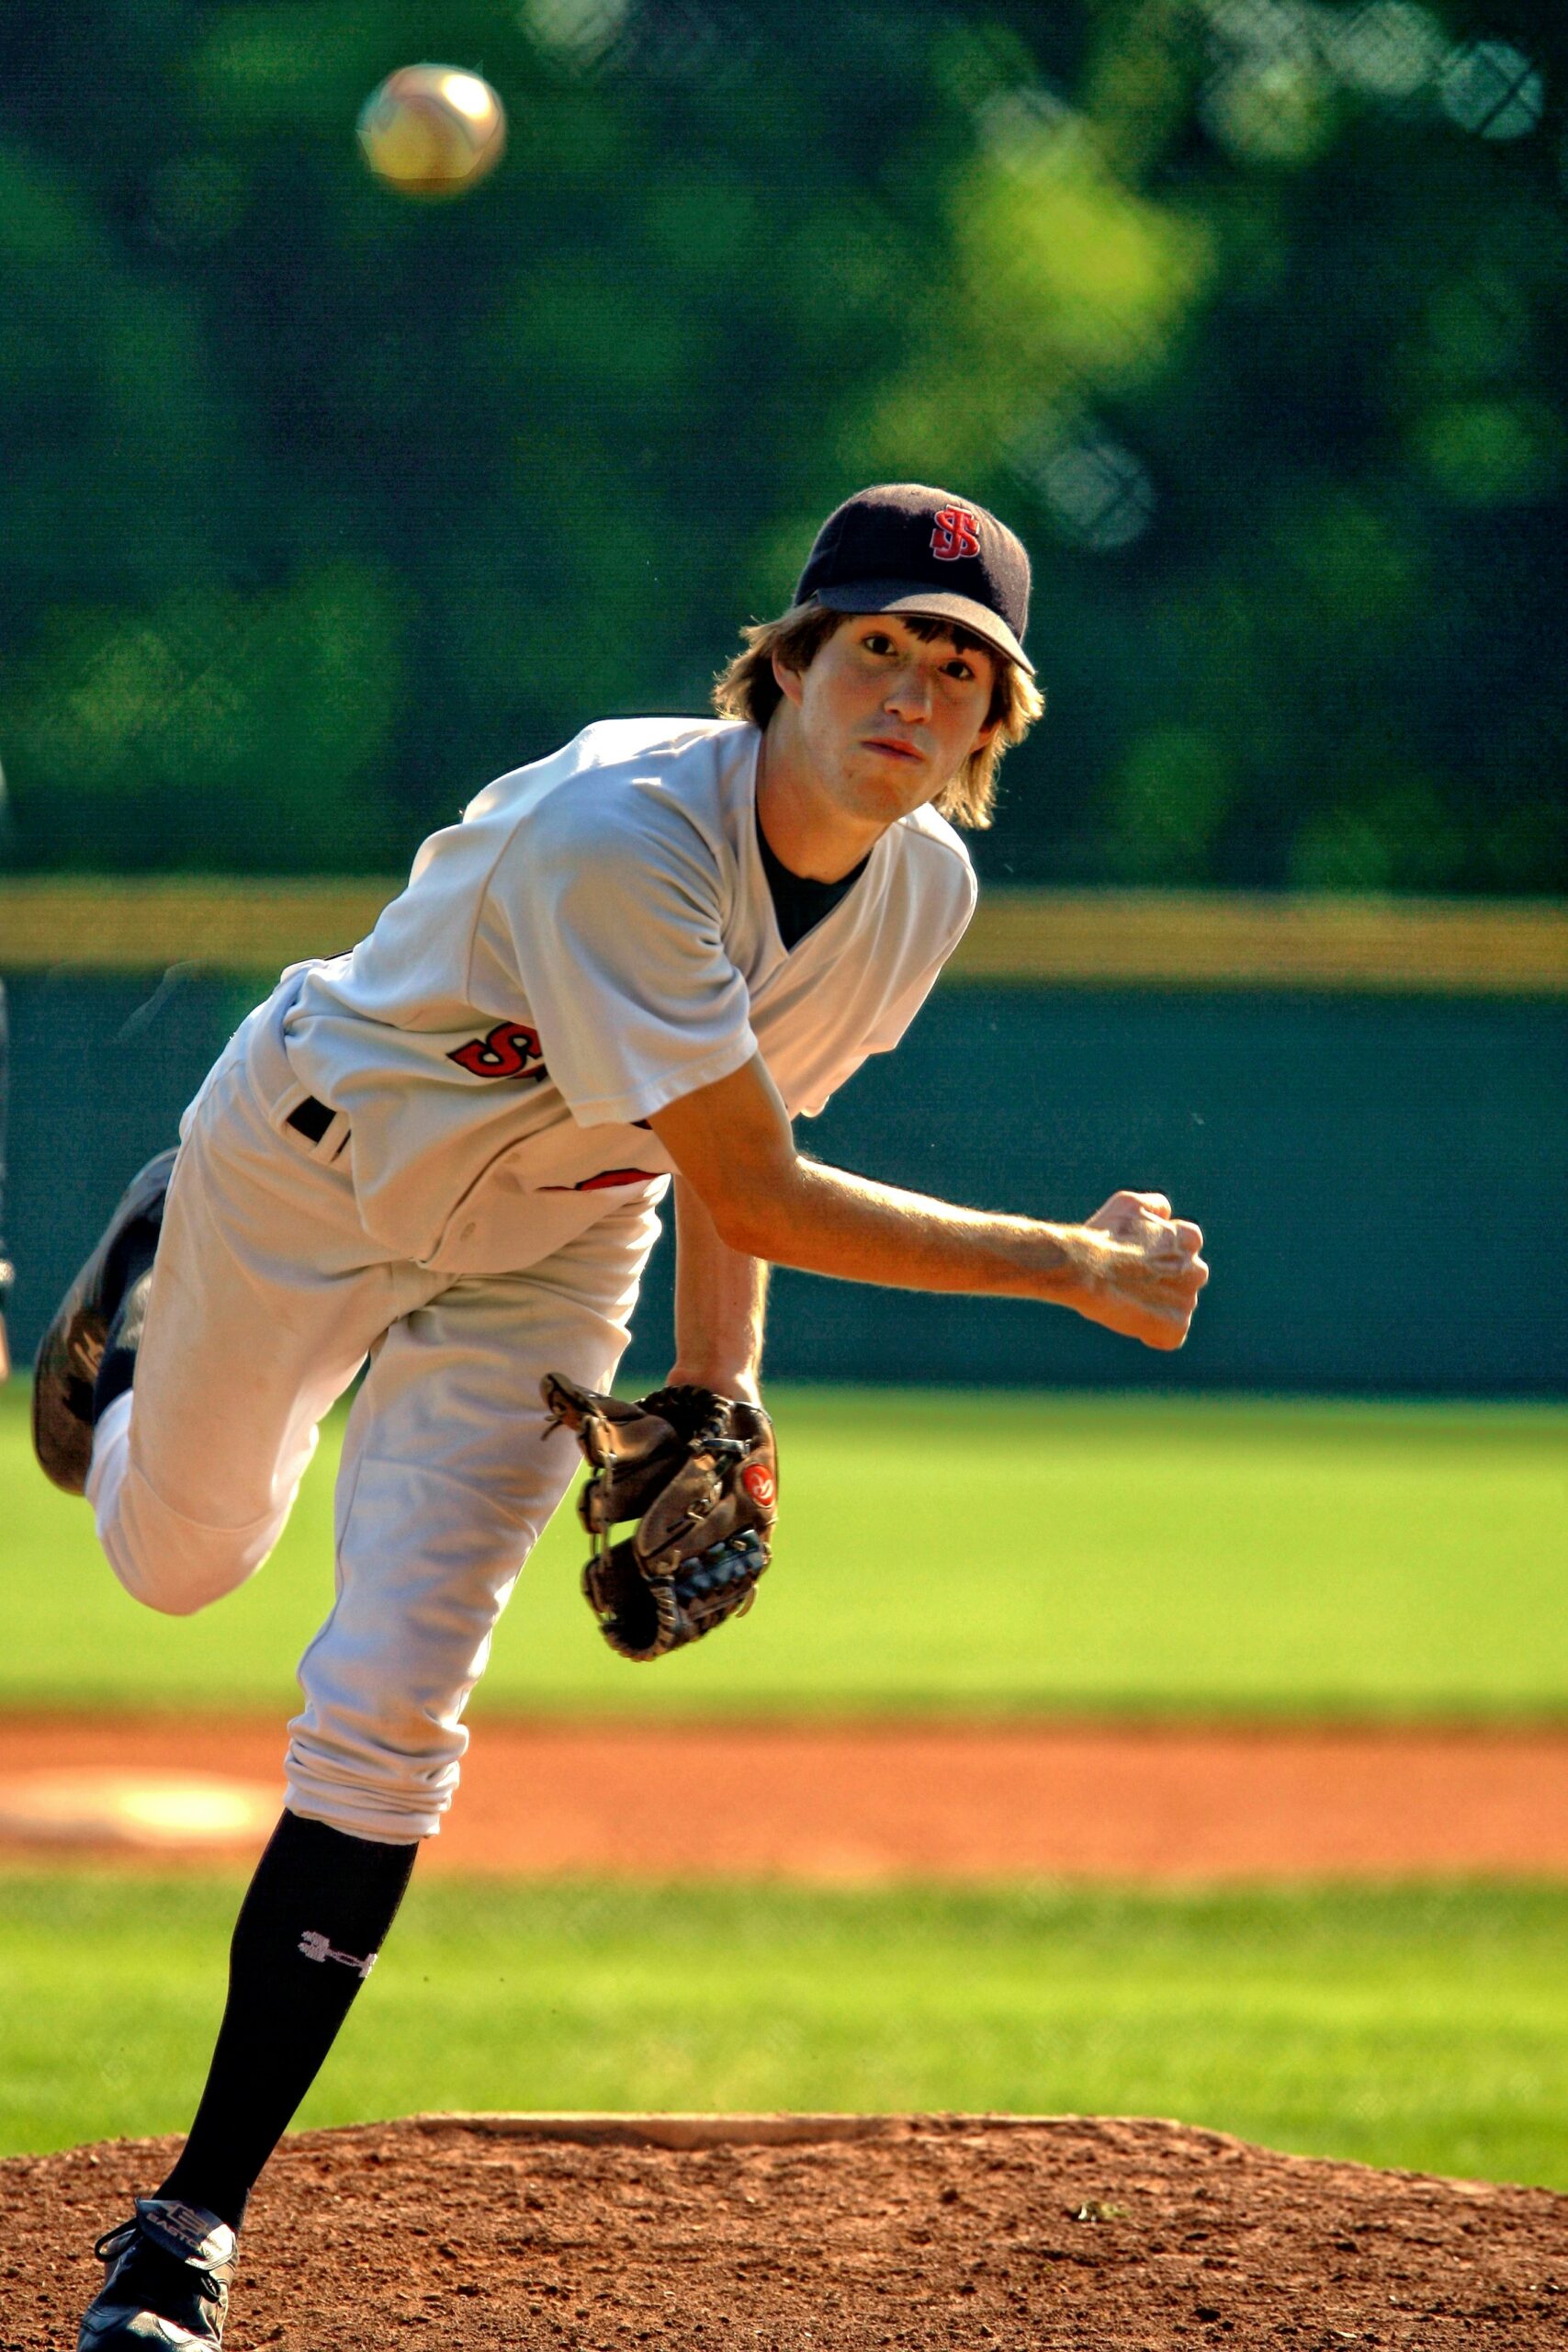
Pitchers at every level want to throw harder. But velocity doesn’t come from just throwing more. To improve sustainably, you need drills that target how the body generates force—through the legs, hips, core, and arm action.
This post outlines a handful of effective throwing velocity drills for baseball pitchers. The goal is to train the body to move more explosively, with better mechanics, not to throw max effort every day. These drills work well for high school and college pitchers looking to improve velocity safely and consistently.
1. Start with Lower-Body Power
Most of a pitcher’s velocity comes from the lower half. A strong back leg and explosive hip rotation help transfer energy up the chain. If you’re not using your legs well, your arm has to work harder to generate speed.
Medicine Ball Scoop Tosses
This drill trains explosive hip rotation and timing between your lower and upper body. Use a 6-8 lb medicine ball and start in your normal stride position. Rotate your hips and core to toss the ball underhand into a wall, focusing on using your legs rather than just your arms. Perform 3 sets of 8-10 reps, 2-3 times per week.
Single-Leg Box Jumps
Single-leg work improves balance and push-off strength, both critical for a powerful stride. Use a low box no higher than knee level. Load on one leg, then jump up quickly and land with control. Focus on explosive upward movement and soft landing. Do 3 sets of 4-5 reps per leg, 1-2 times per week.
Wall Drive Drill
This isolates and trains the drive off the rubber without full throwing motion. Stand sideways next to a wall with your glove side facing the wall. Get into your pitching stance and practice driving off your back leg, focusing on forward momentum without opening your shoulders. You should feel the power transfer from your back leg through your core.
These drills are about quality over quantity. A few reps done with focus are more valuable than doing them until fatigue sets in.
2. Train Arm Speed, Not Just Strength
Your arm doesn’t need to be massive to throw hard – it needs to be fast and efficient. Training for arm speed means reducing wasted motion and increasing how quickly your arm moves through the throwing zone.
Pivot Pickoff Drill
This drill isolates hip and arm movement without a full delivery. Stand sideways with your feet close together, then rotate your hips and upper body to mimic your throwing motion. Focus on quick arm action and smooth follow-through. This eliminates long arm paths and teaches better sequencing. Do 2-3 sets of 10-15 reps before throwing sessions.
Wrist Snap Throws
These focus on the release point where you generate final ball speed. Stand 5-10 feet from a partner or net and keep your elbow stable while using only your wrist to snap the ball forward. This builds forearm strength and late arm acceleration. Use a baseball or light training ball (3-5 oz) for 15-20 throws as part of your warm-up routine.
Towel Drill
This teaches proper arm path and prevents mechanical breakdown. Hold a towel instead of a ball during practice throws and focus on whipping the towel through your normal arm slot. Listen for the “crack” sound – that indicates proper arm speed. This helps groove mechanics without putting stress on your arm.
These drills are especially useful on light-throwing days or as part of warm-ups. They keep the arm moving fast without overloading it.
3. Use Weighted Balls Carefully
Weighted balls can help increase throwing velocity, but only when used correctly. Without structure, they can also lead to injury.
If you’re new to them, start light. Begin with 7–9 oz. overload balls and 3–4 oz. underload balls. Keep the volume low, and focus on mechanical efficiency, not max effort. They challenge your sequencing and coordination, not just your arm.
Effective Weighted Ball Exercises
- Reverse Throws: Build shoulder strength and deceleration. Face away from your target and throw the ball backward over your head.
- Step-Back Throws: Work on timing and full-body coordination. Step back with your back leg, then drive forward into your throw.
- Constraint Throws: Use lighter balls (3-4 oz) to train faster arm speed while maintaining proper mechanics.
Weighted balls work best when they’re paired with a full throwing program that includes warm-ups, recovery work, and regular rest days. Always follow weighted ball sessions with regular baseball throws to re-establish normal timing and feel.
4. Prioritize Recovery Days
If you’re adding velocity work to your throwing schedule, recovery needs to be part of the plan. Without it, progress stalls, and your arm health suffers.
After high-effort throwing, spend time doing band work for the shoulder and elbow. J-band routines with light resistance are a solid starting point. Add light aerobic movement (like biking or a jog) to keep blood moving.
More isn’t always better. Take at least one full day off from throwing each week. If you’re using weighted balls or doing sprint-based work for lower-body power, you may need more than that. Pay attention to how your arm and body feel between sessions.
Conclusion
If you want to throw harder, don’t rely on throwing alone. Focus on training the whole system—lower-body force, efficient arm action, and structured recovery. A few targeted drills done consistently will do more for your velocity than random long toss or overworking your arm.
Build your plan around movement quality, not volume. Stay patient, and let good habits compound.
Athletes Untapped
Want help from a coach who understands velocity training? Athletes Untapped connects baseball players with qualified pitching coaches who offer custom programs and one-on-one instruction. You can also check out our baseball tag for more articles and resources.


