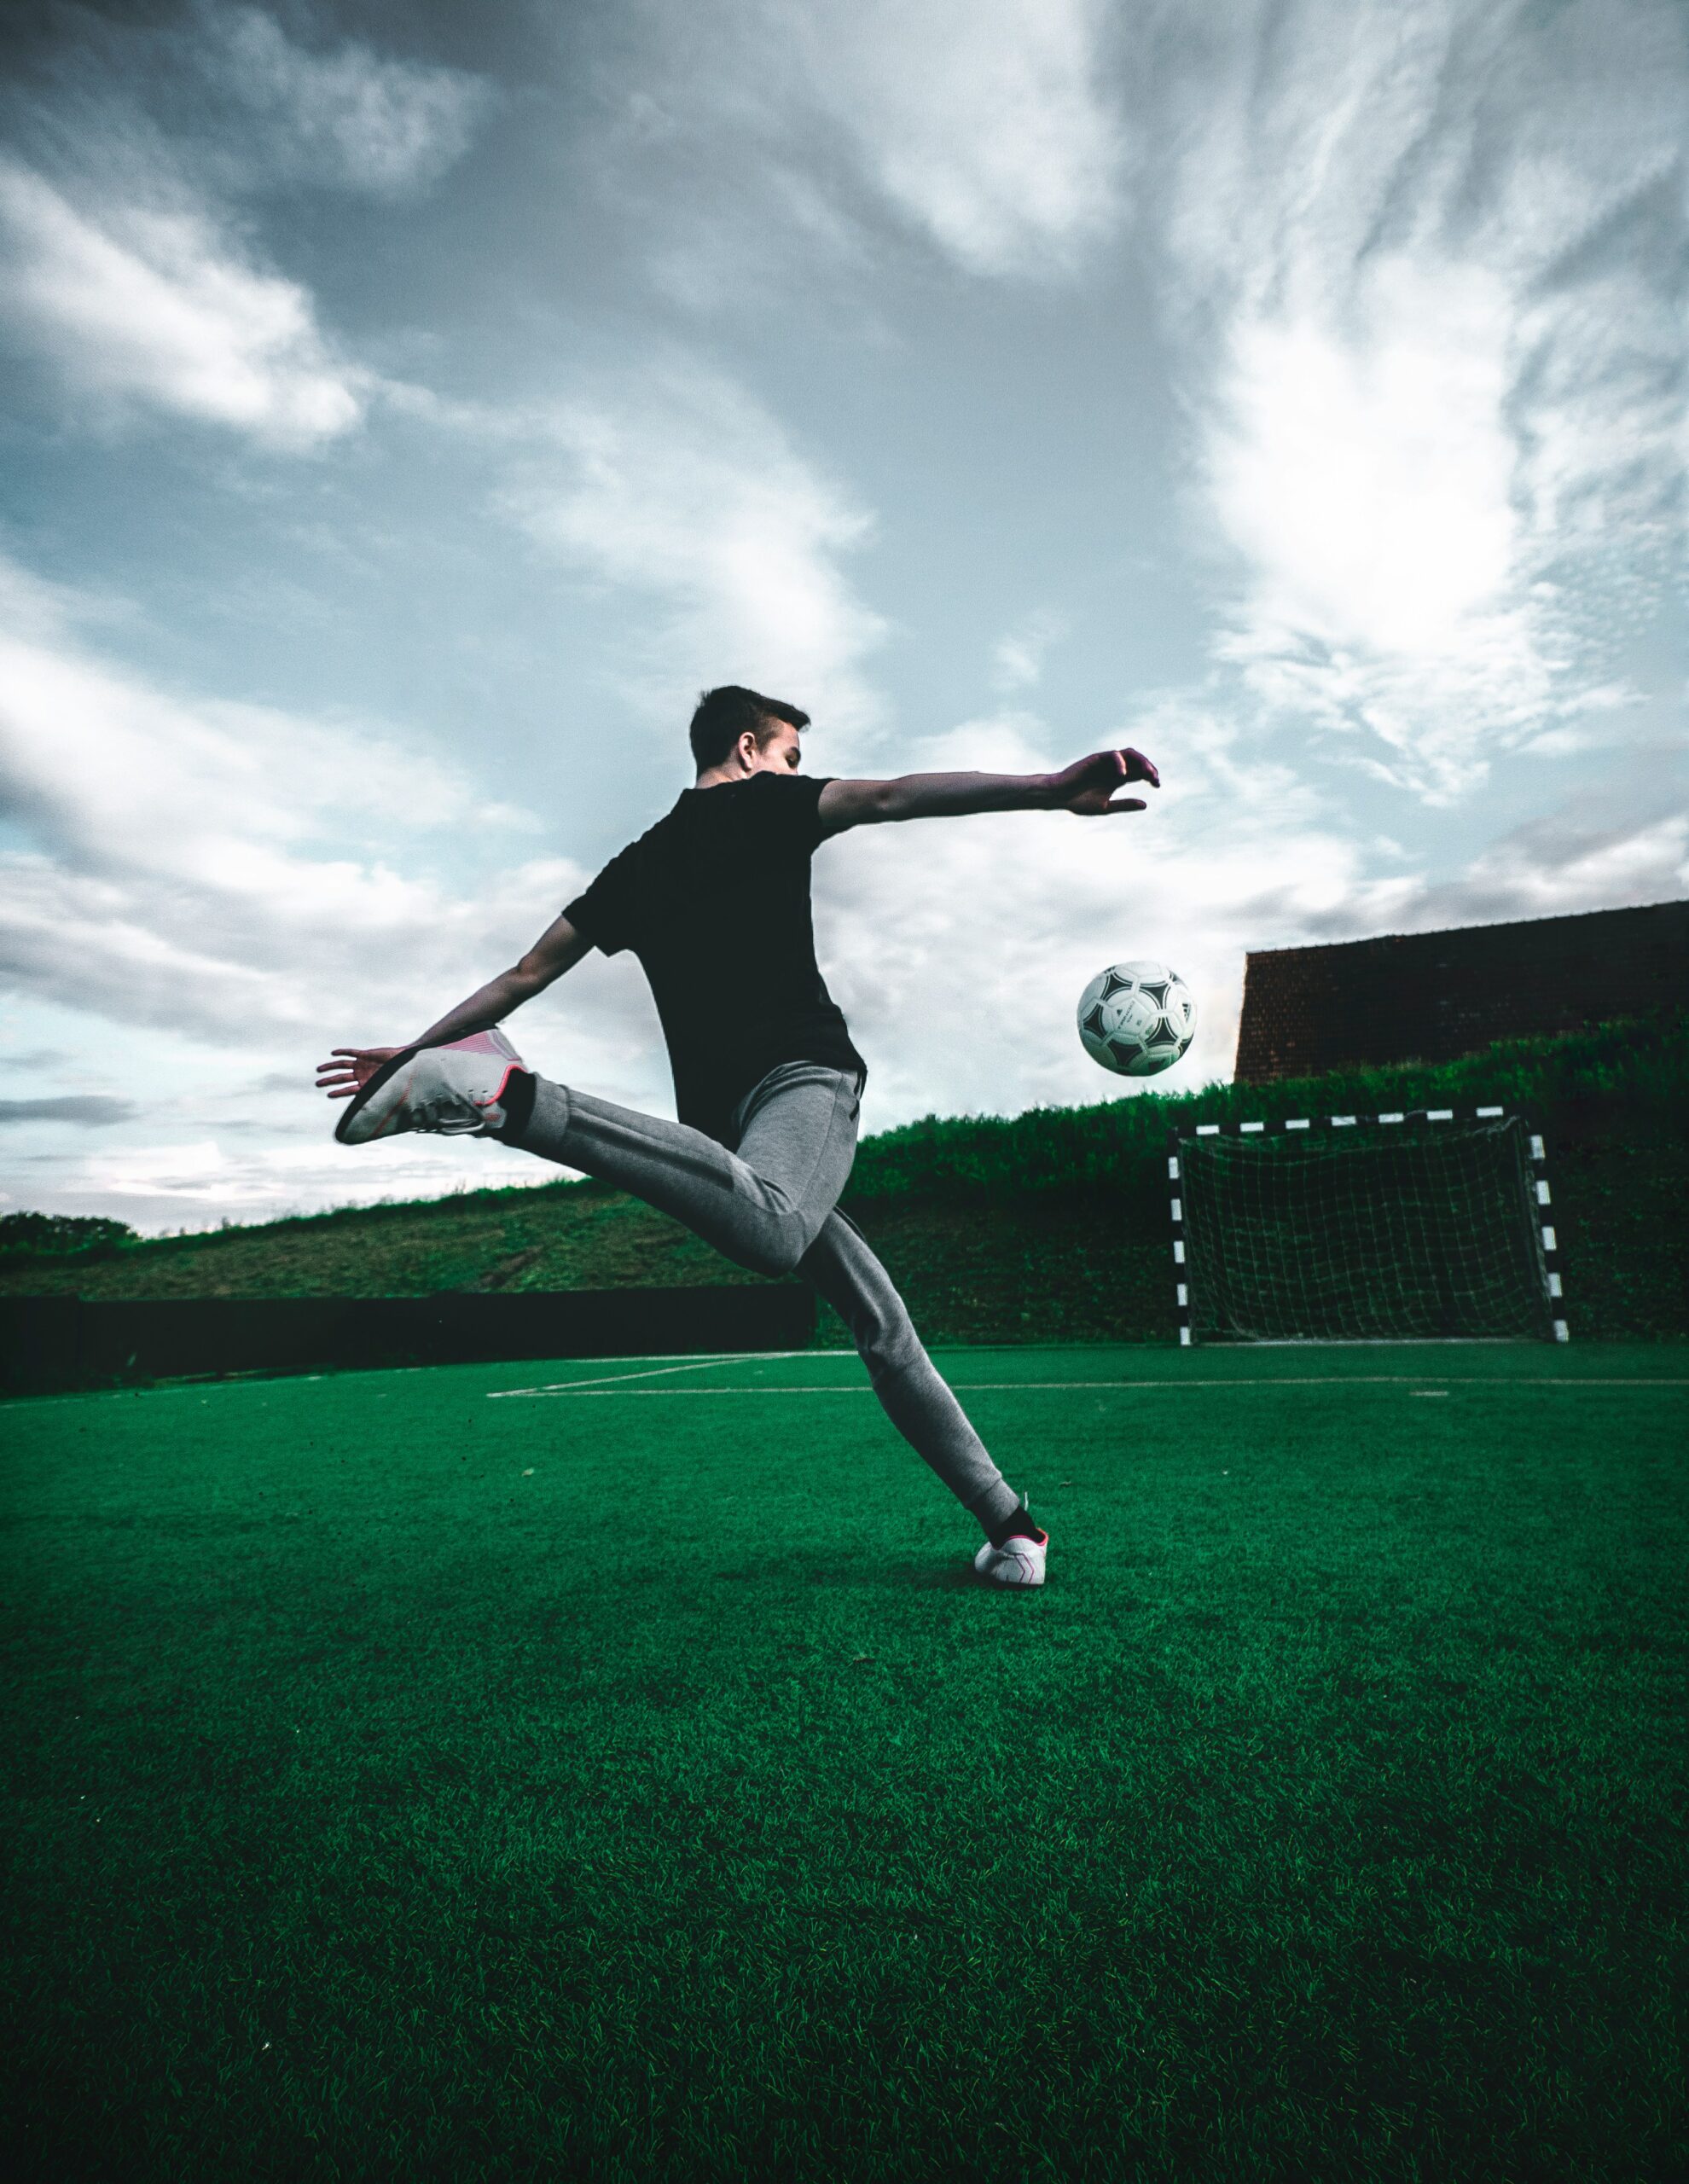
Free-kicks can change games, especially in youth soccer where goalkeepers are smaller and walls aren’t always perfect. A well-struck free-kick can be the difference between winning and losing, but most youth teams don’t spend enough time practicing them.
The good news is that free-kick coaching doesn’t have to be complicated or only for advanced teams. Players at every level can learn proper technique, build confidence, and understand how to work together during set pieces. Even basic free-kick skills can turn into real scoring opportunities.
This post covers everything you need to teach free-kicks to young players. We’ll break down the technique, set up realistic practice situations, and help players develop routines that work when the pressure is on.
Teaching Proper Free-Kick Technique
Start with body positioning because everything else builds from there. Players should approach the ball at a slight angle, not straight on. The plant foot goes next to the ball, pointing toward the target. The kicking foot should be firm but not tense.
For the approach, teach players to take 3-4 steps back from the ball. Too many steps and they lose accuracy. Too few and they can’t generate enough power. The approach should be smooth and controlled, not a full sprint.
Different parts of the foot create different results. The inside of the foot gives more accuracy and curve but less power – good for close free-kicks. The instep (where the laces are) gives more power and is better for longer shots. The outside of the foot can create curve away from the goalkeeper but is harder to control.
Power and placement depend on how far you are from goal. Close free-kicks (15-20 yards) need accuracy more than power. Place the ball low and to the corners where goalkeepers have trouble reaching. Farther shots (25+ yards) need more power to beat the goalkeeper, but still aim for the corners.
Keep the head steady and eyes on the ball during contact. Many young players lift their head too early to see where the ball is going, which ruins their accuracy. Teach them to hit through the ball and then look up to see the result.
The follow-through should be smooth and toward the target. Don’t stop the leg motion right after hitting the ball. Let it continue naturally in the direction you want the ball to go.
Warm-Ups and Ball Striking Drills
Always warm up before practicing free-kicks. Start with light jogging and dynamic stretching to get muscles ready. Pay special attention to the hips and legs since free-kicks use a lot of hip rotation and leg swing.
Static Ball Striking Set up balls 20 yards from goal and let players practice their technique without pressure. Focus on form, not power. Players should hit 10-15 balls, working on consistent contact and follow-through.
Start without a goalkeeper so players can focus purely on technique. Once they’re hitting the ball cleanly, add a keeper to make it more realistic.
Target Practice Place cones in the four corners of the goal and have players aim for different targets. Make it a game – first player to hit each corner wins. This keeps practice fun while building accuracy.
Use different sized targets as players improve. Start with big cones, then move to smaller targets or even water bottles for advanced players.
Progressive Distance Drill Start close to goal (15 yards) and gradually move back as players get comfortable. This builds confidence at close range before challenging them with longer shots.
At each distance, players should adjust their technique. Closer shots need more placement and less power. Longer shots need more power but still require accuracy.
Designing Free-Kick Scenarios for Practice
Set up realistic practice situations that mirror what players will face in games. Use cones, training dummies, or even other players to create walls that defenders would form.
Basic Wall Setup Place 4-5 cones or players 10 yards from the ball to simulate a defensive wall. This forces free-kick takers to go over or around the wall, just like in games.
Practice from different angles – straight on, left side, right side. Each angle requires different technique and strategy. Straight-on shots often need to go over the wall, while angled shots can sometimes go around it.
Variable Distance Practice Set up free-kick scenarios at 18 yards, 22 yards, 26 yards, and 30 yards. Each distance requires different power and trajectory.
At 18 yards, players should focus on placement and getting the ball up and down quickly. At 30 yards, they need more power but can use a flatter trajectory.
Moving Wall Drill Have the defensive wall take one step forward as the kicker approaches, simulating what happens in real games. This teaches players to adjust their technique when the distance changes slightly.
Multiple Kicker Rotation Don’t just let one player take all the free-kicks in practice. Rotate different players into the kicker role so everyone gets experience. This also helps the team if the main free-kick taker gets injured or isn’t available.
Let players try from their strong side and weak side. Right-footed players often struggle with free-kicks on the left side of the field, so give them practice from uncomfortable angles.
Building Confidence and Routine in Youth Players
Help each player develop a personal pre-kick routine. This might include taking the same number of steps back, placing the ball the same way, or taking deep breaths. Routines help players stay calm and consistent under pressure. The routine should be simple and quick – don’t let players take forever setting up their shot. Good routines take 10-15 seconds, not a full minute.
- Pressure Training – Create game-like pressure during practice. Have other players make noise, count down from 10, or add time limits for taking the shot. This prepares players for the pressure they’ll feel in real games. Start with low pressure and gradually increase it as players get more comfortable.
- Visualization Practice – Teach players to picture their successful free-kick before taking it. Have them close their eyes and imagine the ball going exactly where they want it. This mental practice helps with confidence and focus.
- Multiple Scenarios – Practice different game situations – tied game in the last minute, winning by one goal, losing and needing a score. Different situations create different pressure levels and help players learn to handle whatever comes up.
- Positive Reinforcement – Celebrate good technique even when shots don’t go in. Free-kicks are hard, and even professional players miss most of their attempts. Focus on improvement and effort, not just results. Keep track of successful free-kicks in practice and games. Players love seeing their progress, and it builds confidence for future attempts.
Make Free-Kicks Work for Your Team
Good free-kick coaching teaches more than just striking a ball. Players learn technique, build confidence, and understand how to stay calm under pressure. With regular practice and realistic training situations, young players can turn set pieces into real scoring opportunities.
The key is consistent practice with proper technique. Don’t just let players blast shots at goal during the last five minutes of practice. Make free-kicks a regular part of training with specific goals and progressions.
Remember that not every player will become a great free-kick taker, but everyone can learn the basics. Having multiple players who can take decent free-kicks gives your team more options and keeps opponents guessing.
If your players need extra help with free-kick technique or set-piece strategies, Athletes Untapped connects athletes with skilled private coaches who focus on personalized soccer training. You can also explore our blog on soccer goal-scoring drills for accuracy to keep building your finishing skills.


